— PART 1 —
Mastering Graphic Design Starts
with Mastering Your Computer
FIRST THINGS FIRST: Create an Efficient Desktop
Success Starts with Your Desktop
Start off right by making your workflow easier and to keep your files organized. Understanding how to customize your Mac desktop is essential for improving your workflow efficiency. It allows you to create a personalized environment that will supports your focus, give you quick access to tools, and smoother multitasking.
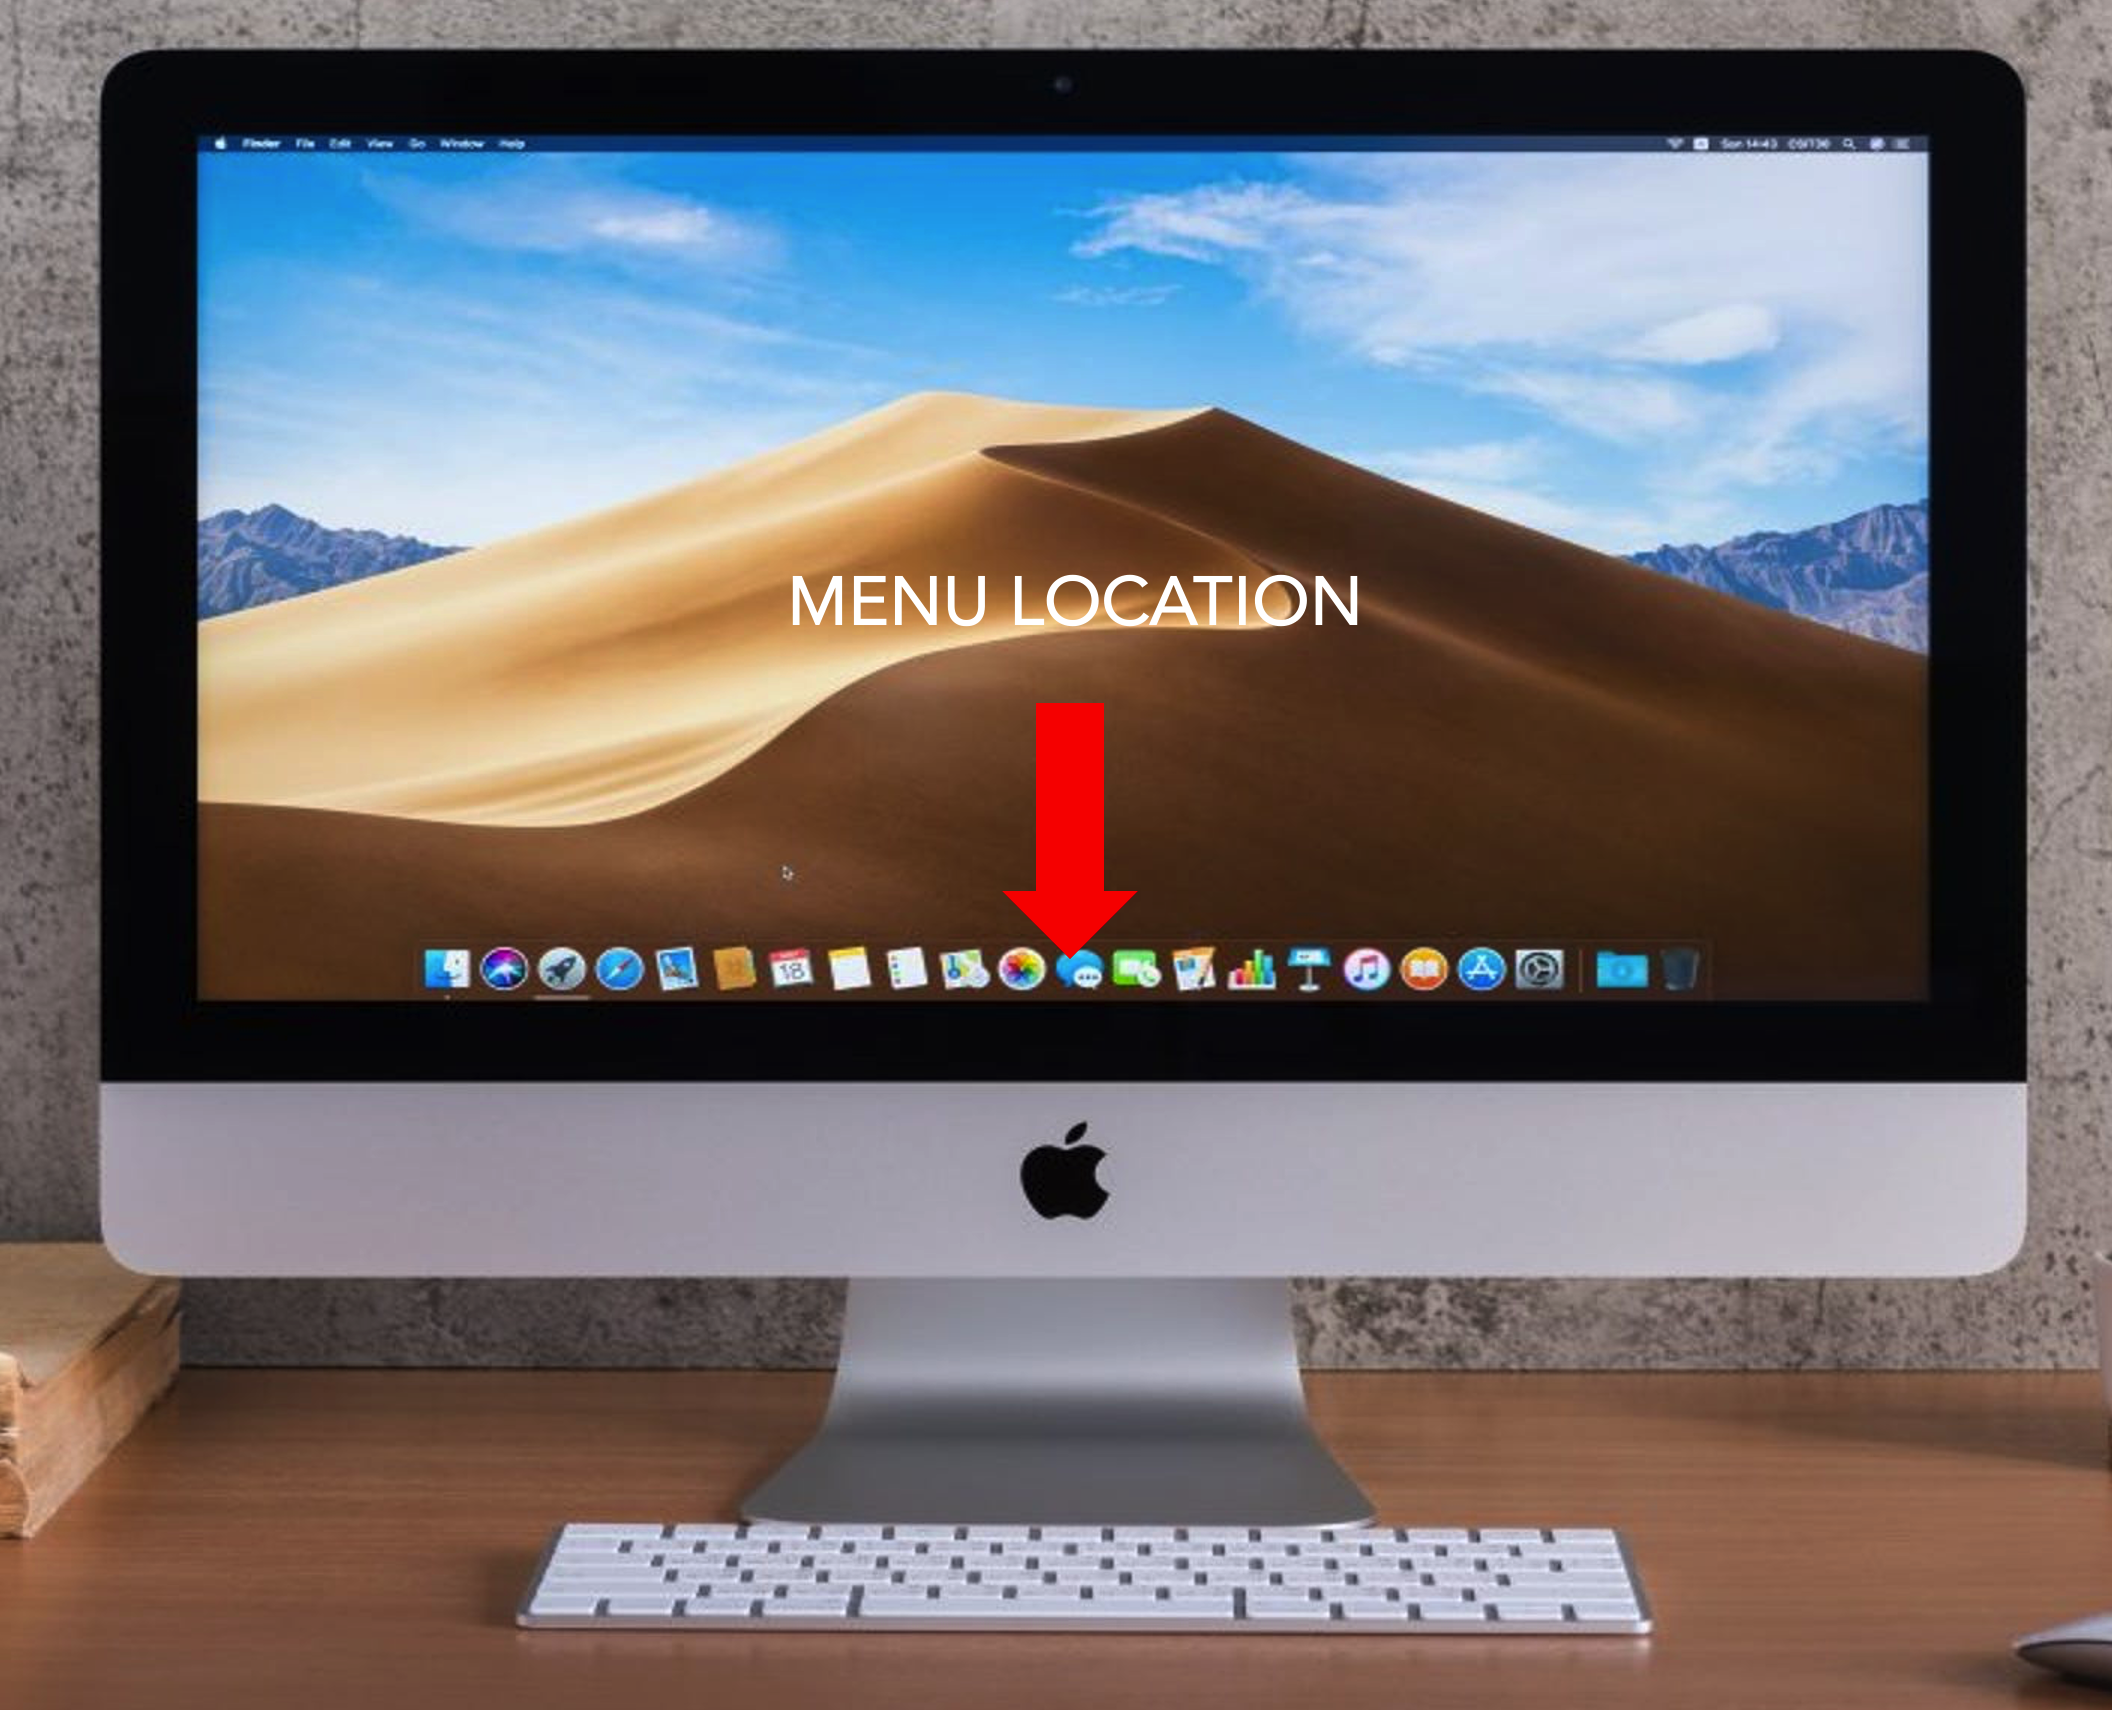 |
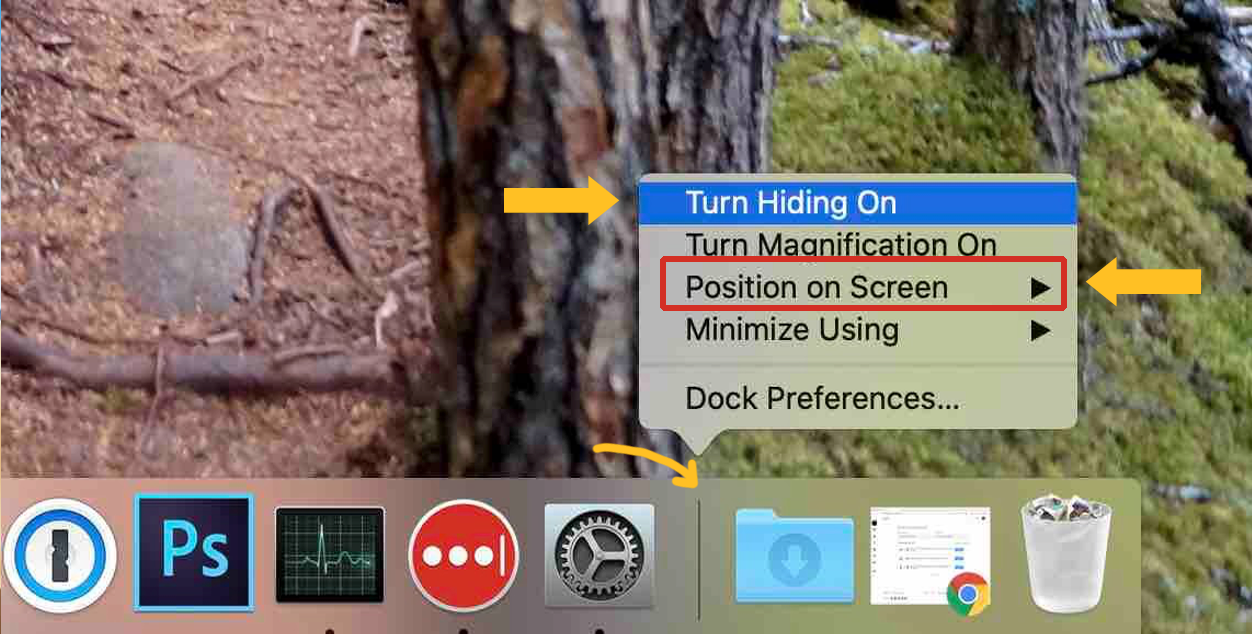
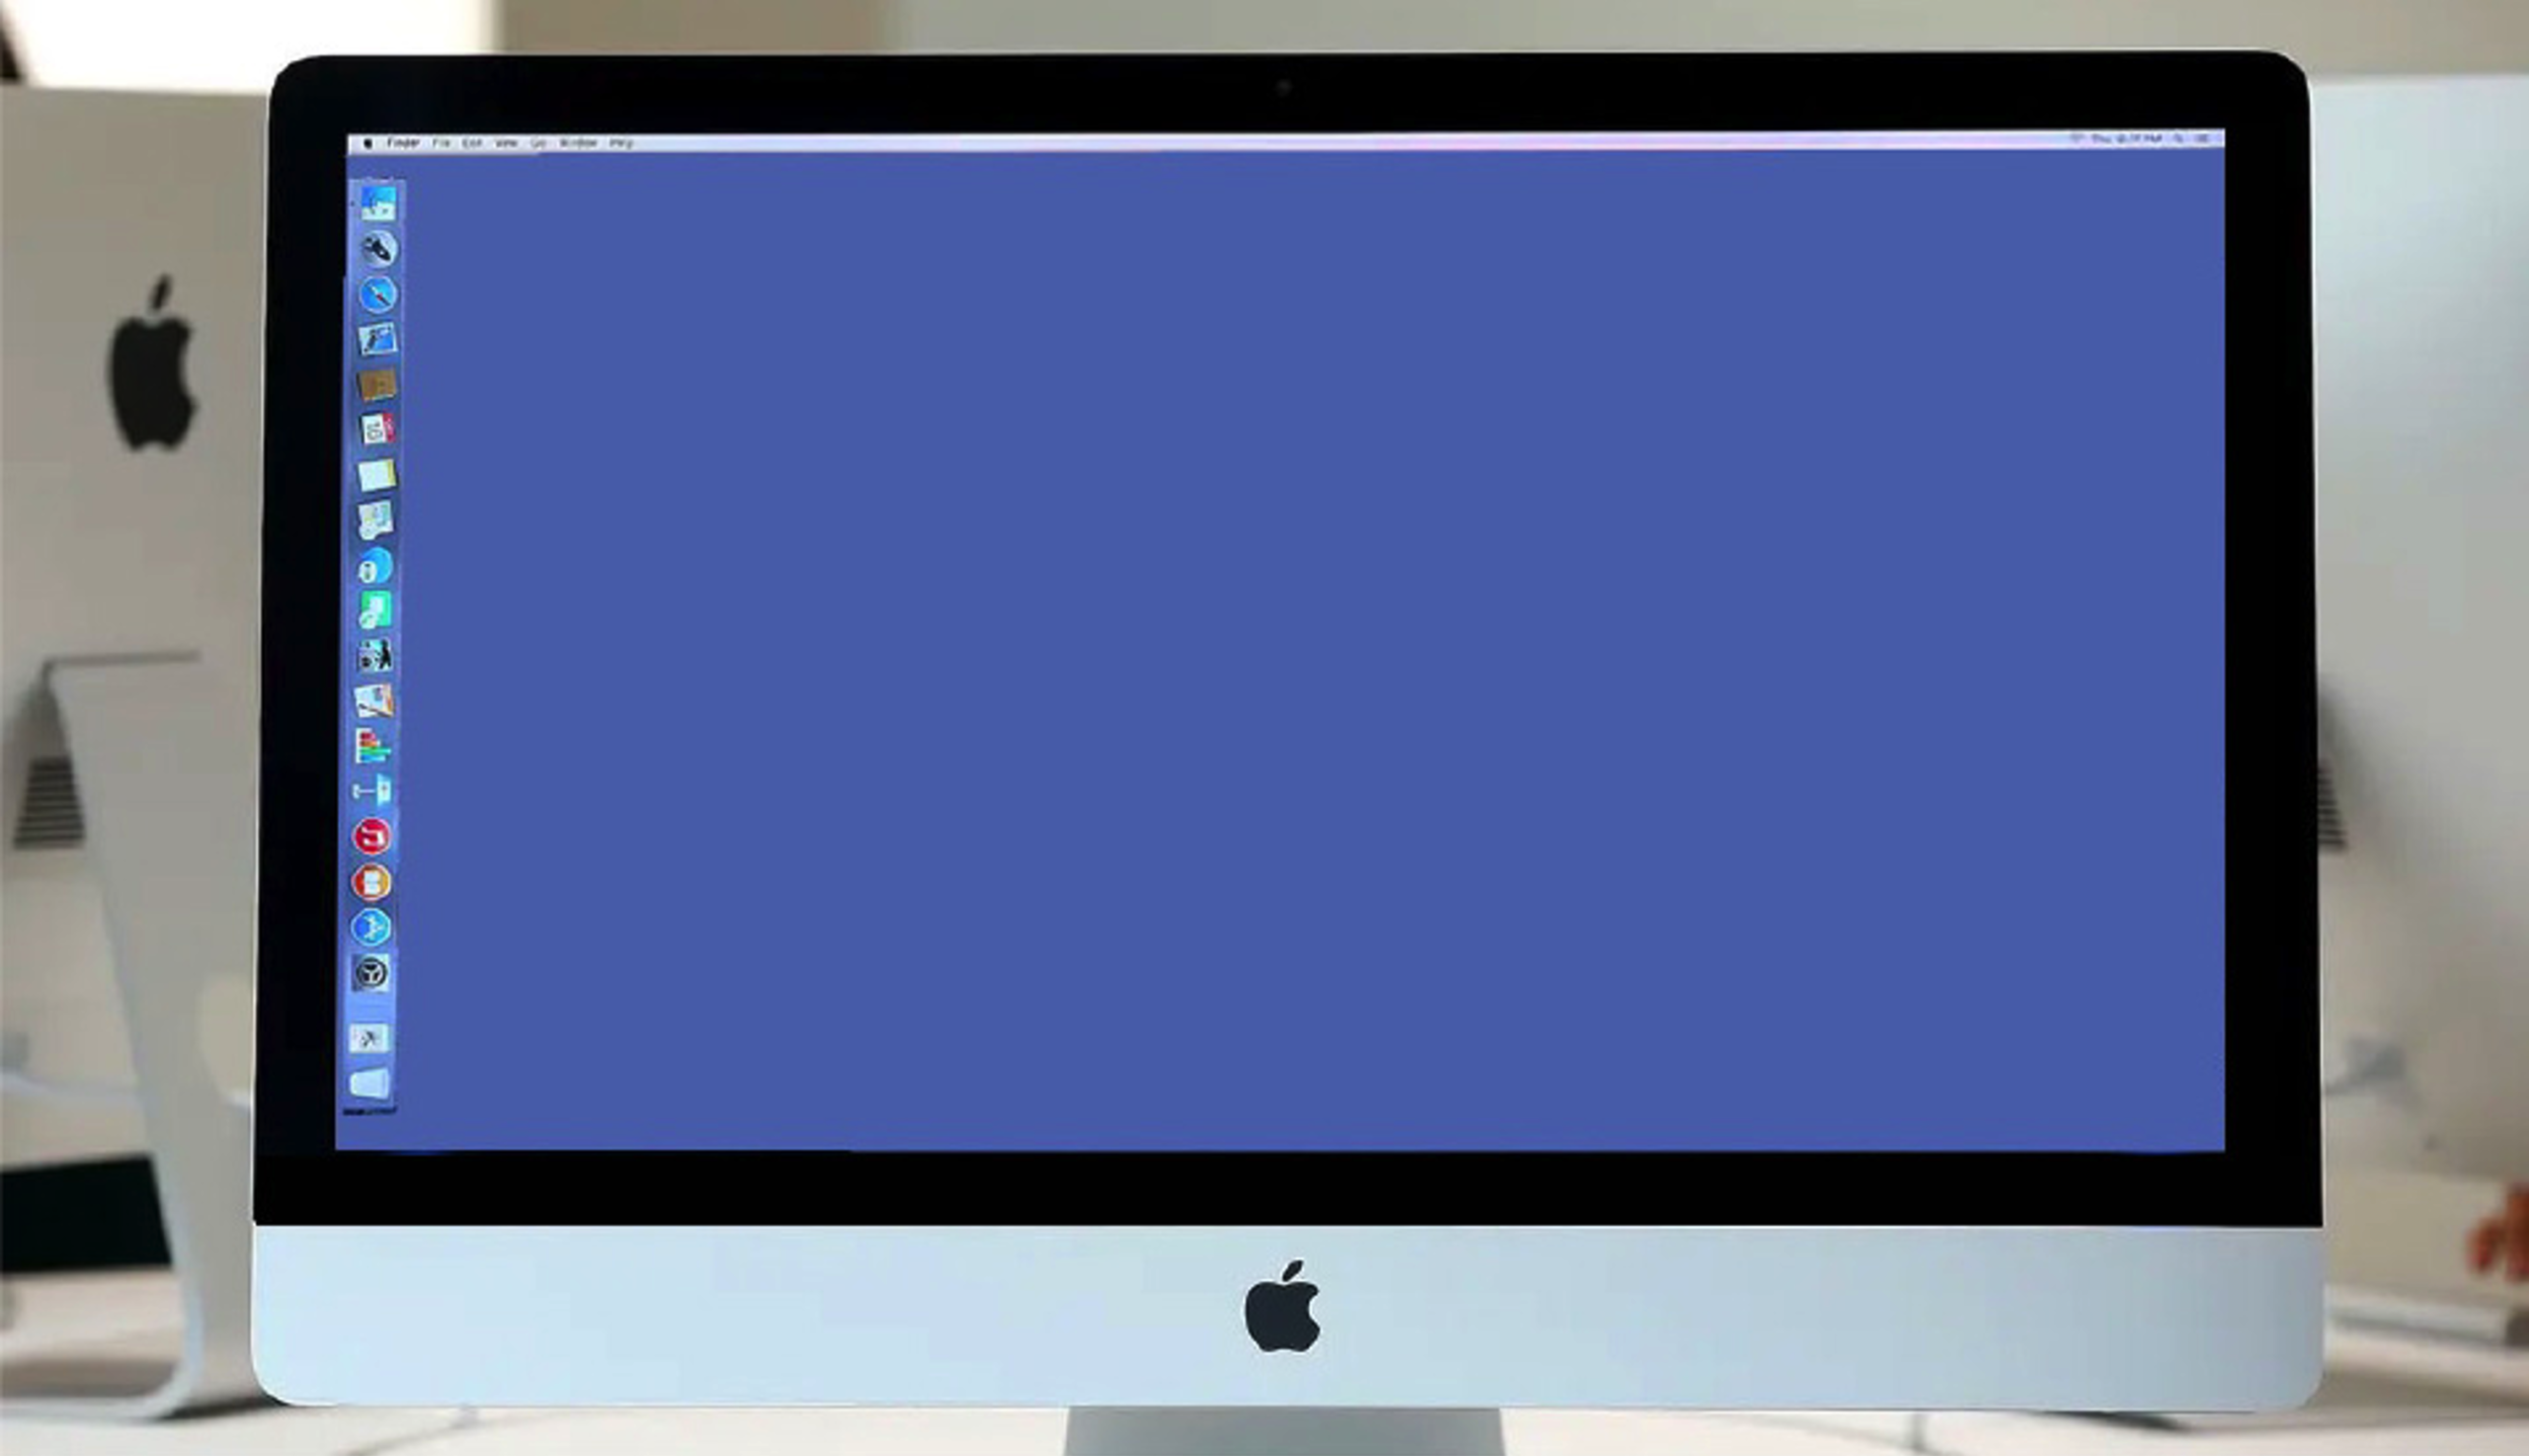
To relocate your menu to the left-hand side of your monitor, right-click or control-clicking the horizontal line that separates sections, then select Position On Screen> and select Left.
|
|
Consider relocating your menu for better ergonomics, scannability, and screen optimization. Positioning your menu on the left side of your desktop is beneficial for graphic design work due to several reasons related to user experience and workflow explained below.— Monitors are usually widescreen, so a dock located at the bottom of the screen can cause a great deal of loss of the vertical real estate. This will optimize your screen space and provide more space for your art boards from the inevitable sprawling menus we use in Adobe applications. —Placing the menu on the left makes it easier to quickly locate tools. Studies indicate users often focus their gaze on the left-hand side of interfaces. —Left navigation provides a vertical column for quicker scanning for apps. I like to order mine by type (i.e. utilities (Finder, System Settings, Calculator, Calendar, etc.) , Browsers (Safari, Chrome, Firefox), Adobe Apps, (AfterEffects, Media Encoder, Animate, Photoshop, Illustrator, InDesign, XD, etc.) Quicktime, Excel, Word, Font Book, etc.
A way to test this configuration that gives you more workspace is to open up a webpage when your menu is positioned at the bottom of your screen, then switch your menu to the left-hand side of your screen. If you look at the content on your browser, you’ll see there is more vertical space viewable on the webpage. |
||