Book Assignments
Throughout the semester we will be exploring the elements of art along with the principles of art. Each short page assignment will be integrated into a book at the end of the semester that will become, in essence — a personal text book / journal — of your work in this class. As we learn about each element, you will be required to find examples of that element in art to build visual reference for each.
Elements-in-Art
Find (6) six examples of the assigned element used in art. Keep in mind that these pages will be bound into a book at the end of the semester. Part of this assignment is to THINK about the design of the book, the layout. Keep the size of your titles and text consistent on each page.
1. Do a search on the internet for (6) images that reflect the assigned design element.
2. Open the Google Classroom Template. The header is already created for you with the title and with the rule under the title.
PAGE TITLE: The goal of the book is to have all your page titles in the same font, same font size and same font weight. You don’t need to change the titles of the pages.
If for some reason this type gets messed up, the type size is 24 POINT, ARIAL BOLD and is positioned on the right-hand size of the page (Flush Right).
HORIZONTAL LINE: This is a design element that runs through each page. It is already set up for you in the header of the page.
3. Type in your first and last name in the spot indicated on the page.
If for some reason the font gets messed up, it needs to be 11 POINT ARIAL Regular Font and align it on the right by using the Flush Right Icon.
The top of your page should look like the image below.

4. COPY AND PASTE (6) six images into the document that reflect the assigned element. Resize and arrange the images to create a pleasing composition on the page. Be sure the images are visually aligned with the rule in the header. In other words, keep the images within the left and right margin of the page.
ADJUST THE IMAGE SIZE: You will need to adjust the size of the image. To do this click on the grabber bar on one corner and drag it to the size you need.
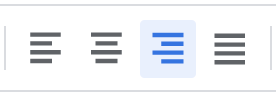
FIX THE IMAGE WRAPPING: To position your images anywhere on the page, you need to change the default TEXT WRAPPING on each image so that you can position it on the page where you want to. Click on the image and controls will appear under the image (see below).
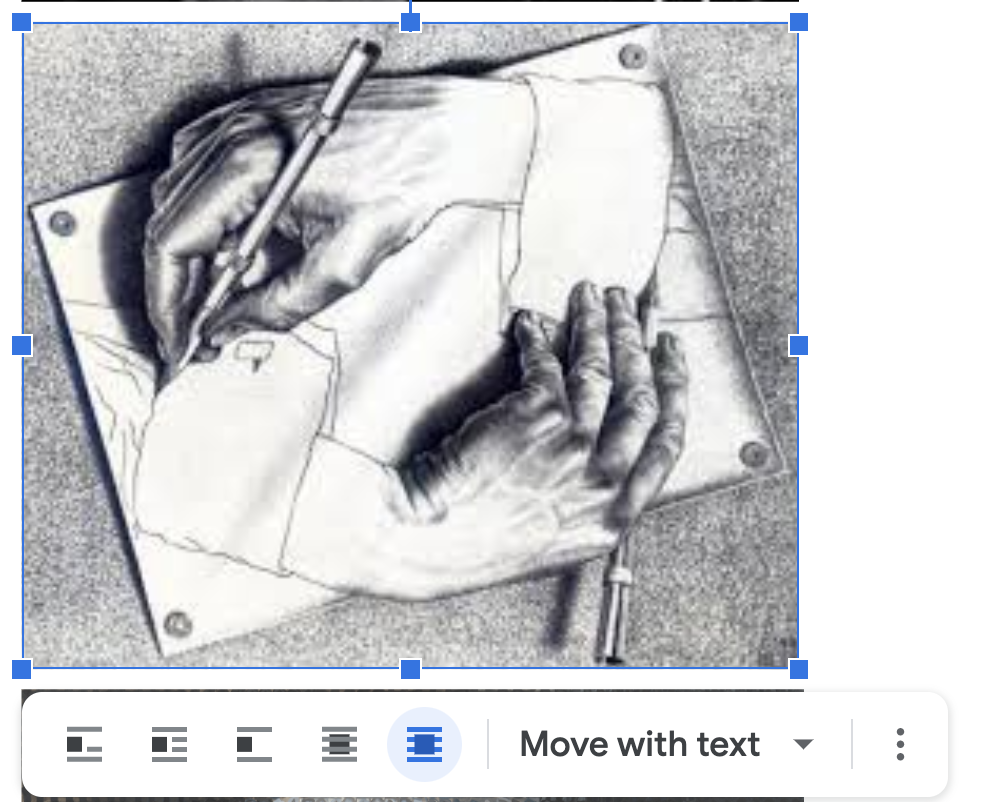
Select the icon to the far right “In Front of Text” and you will be able to move the image anywhere on the page.
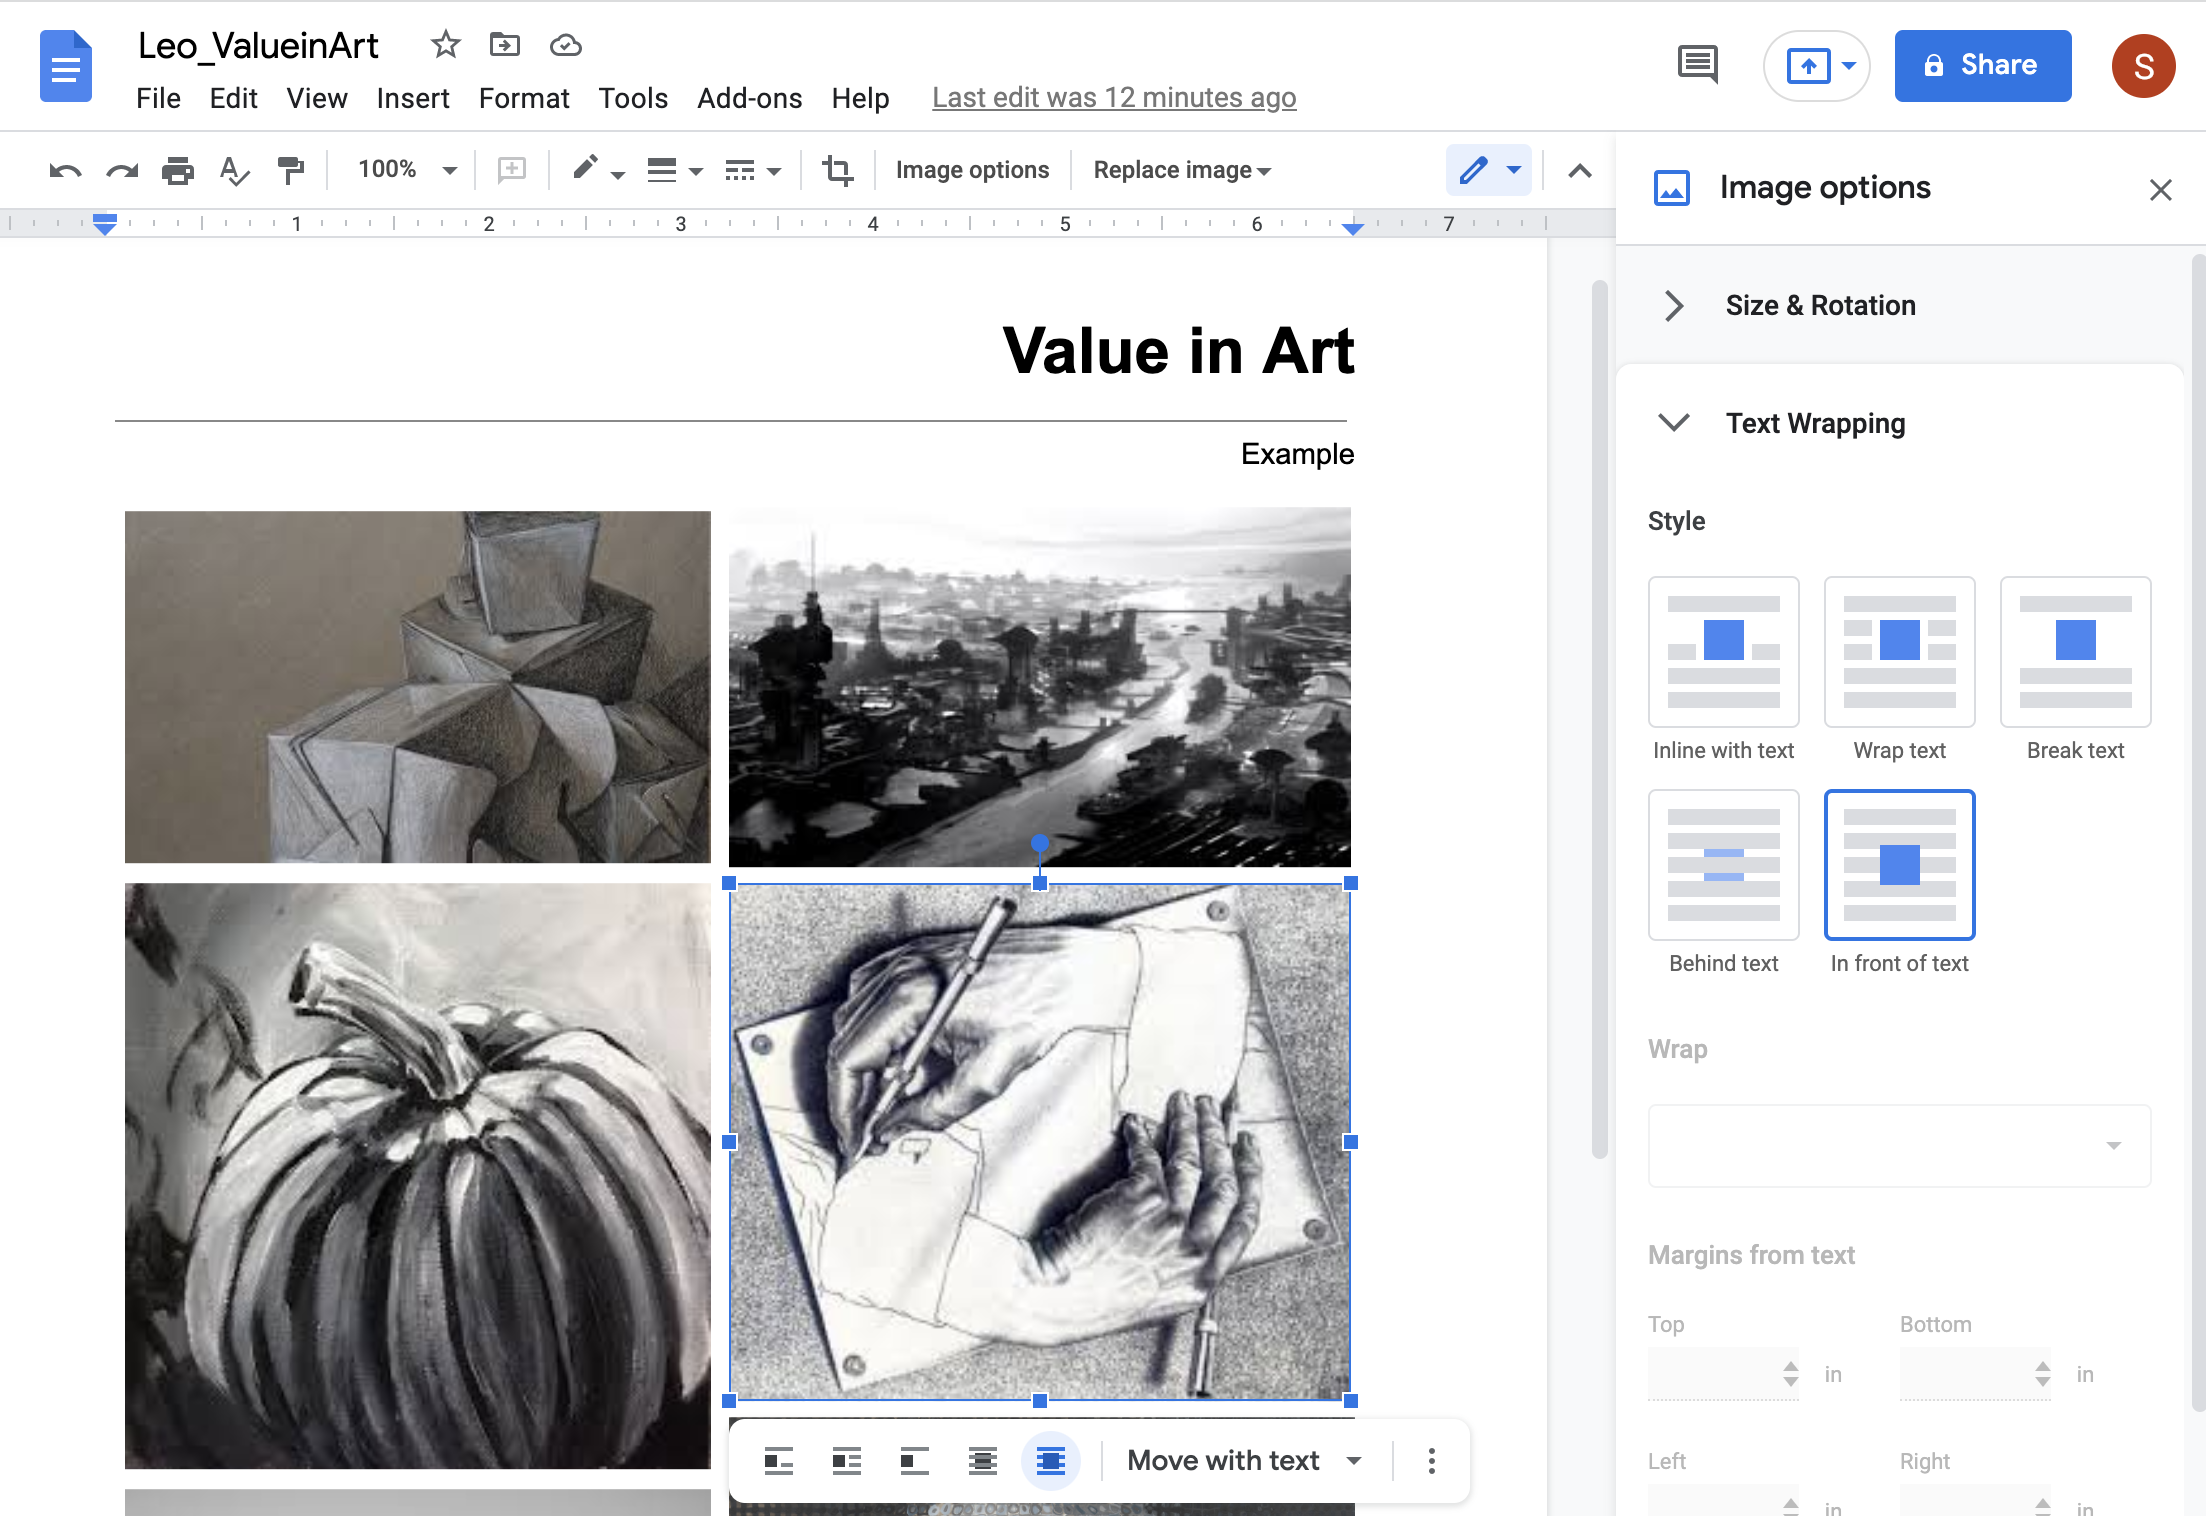
An alternate way to get to this menu is to go to the top menu and clic on the “Image Options” link.
This opens a menu to the right where you can change the text wrapping. (see below).
ALIGN YOUR IMAGE WITHIN THE PAGE MARGINS:
Once you have resized all your images to fit on ONE PAGE, align them to the margins. When the image is right along the margin you will see a red guide line.
DO NOT GO OUTSIDE OF THE MARGIN. The printer does not print to the edge of the paper. Keeping your images aligned to the width of the rule at the top of the page is what you need to aim for. This will make for an organized composition.
5. Turn in your assignment when you have finished arranging your images.
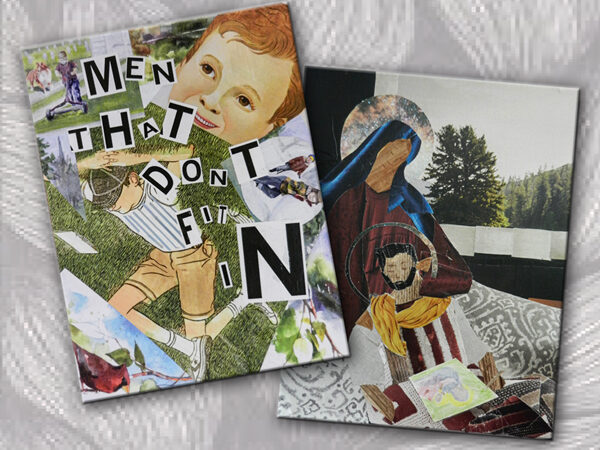
Below are Examples of Student’s Sheets
2D-Book-Element-Examples-Small