Part of learning about elements of art is to be able to identify them in existing works of art, architecture, advertising, products and design. Building a collection of visual images can inspire artists in their work, and also become a helpful resource. Each week a different element will be assigned for students to find six (6) examples of that particular element in artwork and assemble those images in a pleasing composition on a ONE (1) page google document. All images need to fit on one page as we don’t have the budget to print multiple pages for each topic. The pages will be downloaded as PDFs and printed out to be included in the book compendium at the end of the semester.
The elements in art topics are as follows:
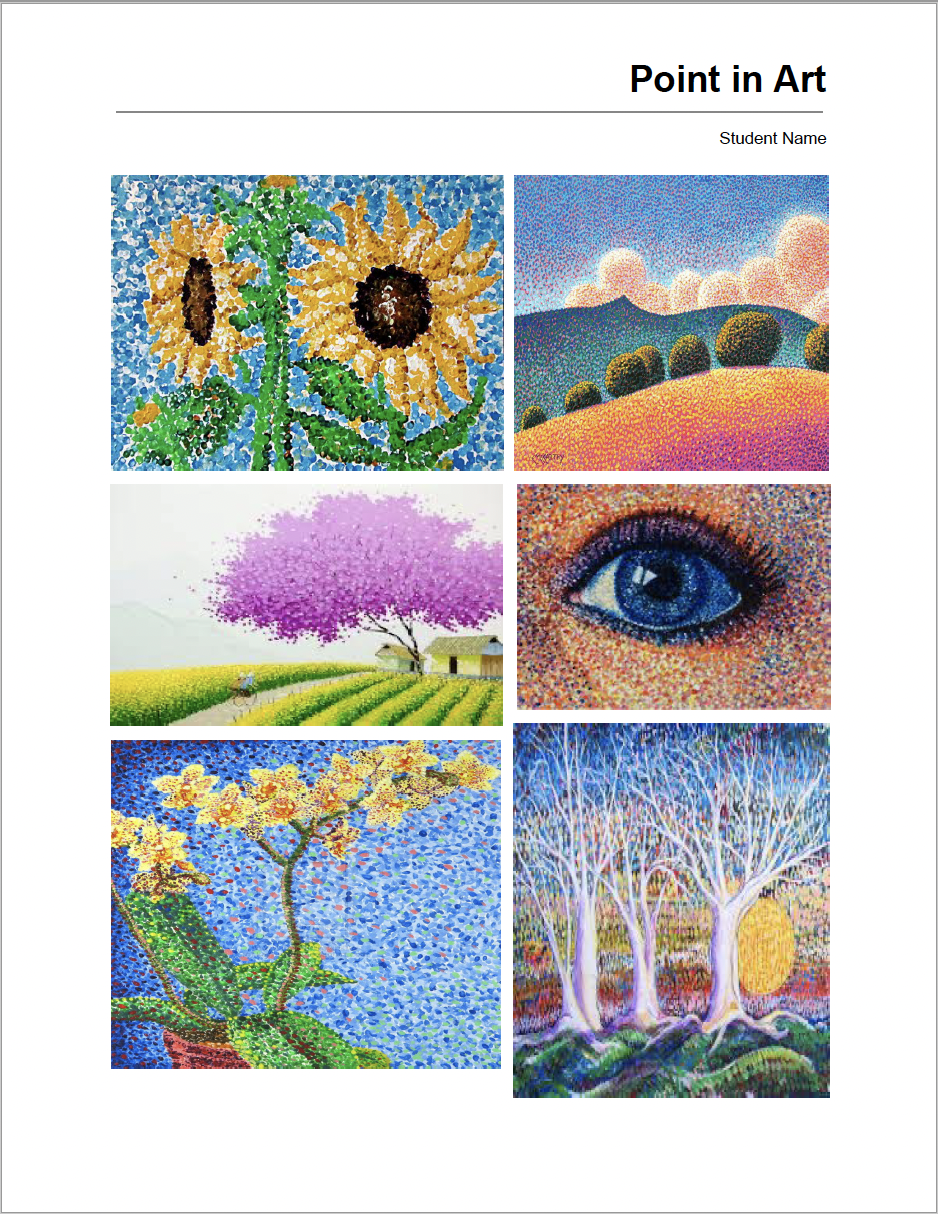
- Point in Art
- Line in Art
- Shape in Art
- Form in Art
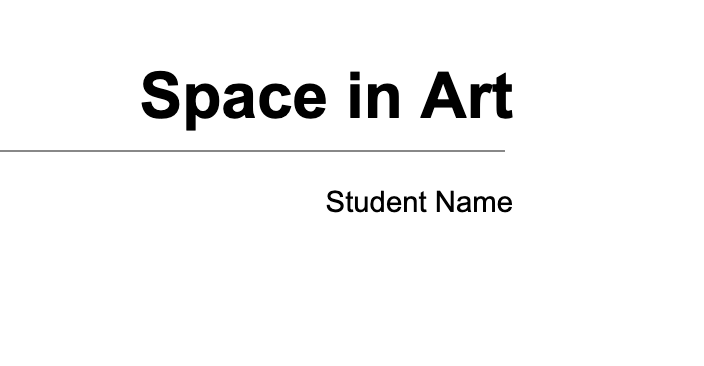
- Space in Art
- Value in Art
- Texture in Art
- Pattern in Art
- Emphasis in Art
- Primary Color in Art
- Secondary Color in Art
INSTRUCTIONS
Google Doc Margins / Claiming Your Name on the Document
The margins are already set up for you in the google document, so don’t change them. The page is 8.5 x 11 and the margins are set at 1″ all around.
You don’t need to use the return key to place any images as there is no text required in this document except for changing the text “Student Name” to your name. Keep the font, style and size the same as all of the pages in the book should be consistent. The only text you need to add in this document is to change the name place holder to your name in the top right hand of the page. (see image below).
Placing Pictures
When you find an image that fits the topic, copy it and simply paste it into the document. You can also drag the image into the document.
Next you need to tell the application how to handle this image. Select the image and change the setting to: “In Front of Text.”
This is the icon under the selected image on the far right next to the drop down box. If you mouse over the icons they will display what the icon means with text. (see example below)
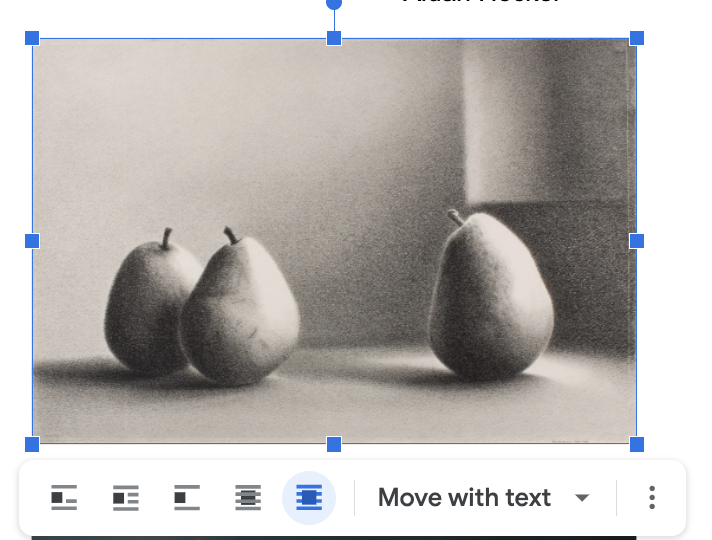
 Make sure that the dropdown box next to the “In Front of Text” icon is set to “Move with Text”
Aligning Your Images within the Margins
With your image selected, drag it to be aligned under the end of the top rule. When it is aligned a RED line will appear (see image below).
That will indicate that the image is aligned on the margin of the page.
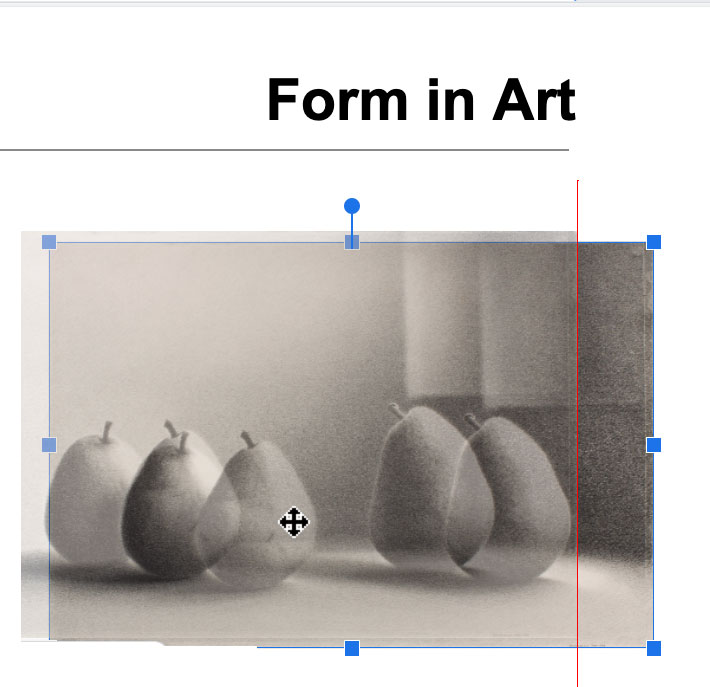 Example of the RED alignment line at the margin of the page. Example of the RED alignment line at the margin of the page. |
 What the image will look like after it is positioned correctly. |
Below is a tutorial on how to resize your pictures and align them within the margins of the document.
Below is an example of what one of the pages can look like. Notice that all the images are contained within the margins.
The Rule at the top of the page set apart the images and also is a visual guid to where the left and right margins fall.