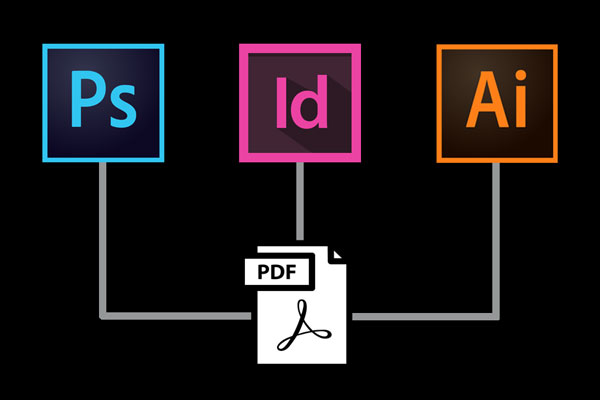
ILLUSTRATOR
Note: The instructions are a bit different between Illustrator and In-Design in the nomenclature of crop marks.
In Illustrator they are called TRIM marks, (In-Design calls them CROP marks).
To Make a PDF from InDesign:
Be careful in In-Design as there is also a setting called BLEED marks.
You want to choose CROP marks, NOT bleed marks when making your PDFs from an In-Design File.
To make a PDF from an InDesign file, go to: File/Adobe PDF Presets/[Press Quality]
To Make a PDF from Illustrator:
Always do a SAVE COPY AS from your native .ai. file.
Remove the word “copy” from the end of the file name.
Select PDF as the file format.
The Adobe Acrobat interface will appear where you can select how you want the file to be output to.
For my classes, please choose PRESS QUALITY.
Download Tutorial Document CLICK HERE.
The video below shows you how to create a PDF file from an Adobe Illustrator file. It also walks you through how to re-map Preview the default Mac App that opens PDFs, JPEGS and PNG files. For Illustrator you will want your PDFs to always open in Adobe Acrobat, not Preview. You can use the same key sequence to re-map JPEGs, PNGs, and GIFs to Adobe Photoshop.
PLEASE NOTE: For my classes … PRESS QUALITY is the setting the I require on all FINAL PRINT-READY FILES. (The video is selecting Print Quality)
REFRESHER FROM DAY ONE IN MY CLASS –REMAPPING YOUR APPS TO WORK WITH ADOBE
HOW TO CHANGE THE DEFAULT APPLICATION FOR OPENING DIFFERENT FILE TYPES
Select the file you want to remap.
Hold down the Command Key and Press the letter “ i ”
This will open up an info box for the selected file.
In the dropdown box that says Open With
Select the app that you want that particular file type to open in.
Be sure to click on the Change All button.
Now all the same file types will open in the application you changed the default to.